 Vega
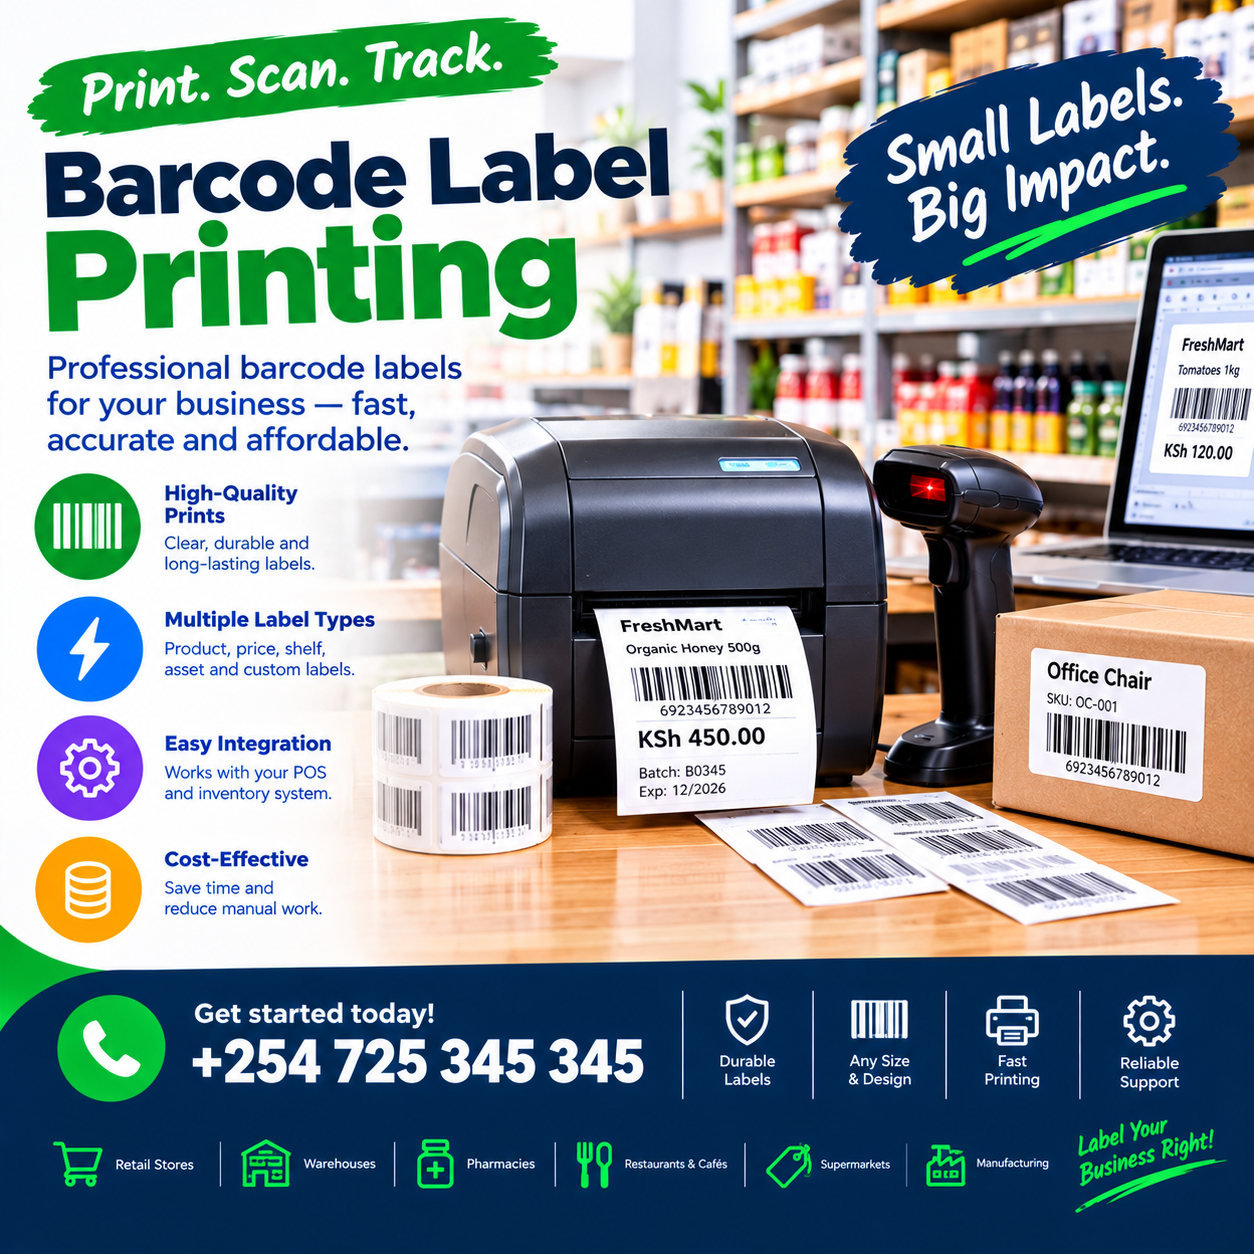
POS barcode and label printing explained is the story of how a sticker smaller than your thumb decides the speed of every sale you make. When a customer reaches the counter, the barcode is the bridge between the item in their hand and the record in your software. When it scans on the first try, the queue moves and your stock stays true. When it does not, everything slows down at once.
Typed product codes are slow and full of small errors — one swapped digit and the flour sells as the soap. Scanning fixes both problems in a single beep, which is why trainers of POS barcode and label printing explained routines call the barcode the cheapest speed upgrade a shop can buy. It also quietly feeds your stock counts, your reorders and your shrinkage reports.
This guide covers the whole subject in plain language: what barcodes actually do, the common code types, manufacturer codes versus your own, label sizes and materials, printer choices, shelf tags, weighed goods, scanners, and the stock-accuracy habits that tie it all together. It closes with the mistakes, the omnichannel angle and the 2026 rules that practitioners of POS barcode and label printing explained setups are already planning for.
Read it once from top to bottom, then work through the checklists as you set up. By the end you will know which codes your products need, which printer and labels suit your volume, and how to build the scanning routine that makes POS barcode and label printing explained discipline pay off at every counter in 2026.
1. What Barcodes Actually Do for a Shop
A barcode is a machine-readable name for a product. The black lines carry no magic — they hold a number, and your point of sale looks that number up to find the name, the price and the stock count. The team behind POS barcode and label printing explained rollouts describes it as the bridge between the shelf and the software.
Three jobs depend on that bridge. Speed, because a scan takes a fraction of the time typing takes. Accuracy, because the system never transposes digits the way a tired cashier at 8 p.m. can. And stock truth, because every scan is also a stock movement recorded the moment it happens.
Remove the barcode and you feel all three losses at once. The queue slows, the price checks multiply, and the stock report drifts away from the shelf a little more each day. Guides to POS barcode and label printing explained often start here for a reason: the sticker is not decoration, it is the data collection layer of the whole shop.
The good news is that the subject is small. One code per product, one label per code, one printer that works, and one habit of testing before printing. Master those and the barcode becomes invisible — which is exactly what well-run technology should be.
2. POS Barcode and Label Printing Explained Simply
In one line, POS barcode and label printing explained is this: the barcode is a product’s fingerprint, and label printing is how you deliver that fingerprint to the shelf, the item and the counter. The POS does the rest — scan, lookup, price. Nothing in the machine cares what the sticker looks like; it only cares that the number underneath is correct.
The daily flow is three steps. Print a label carrying the right number, stick it where a scanner can reach it, and scan it at the till. Trainers who teach POS barcode and label printing explained reduce the label to three facts: the code, the product name and the price. Everything else on the sticker is optional decoration.
The printing side is equally simple in principle. Your software holds a label template — size, layout, fields — and fills it with product data on demand. Shops that grasp POS barcode and label printing explained at this level stop thinking of labels as stationery and start treating them as small data packets: each one says “this sticker belongs to this product”.
Keep the mental model that plain and the counter stays fast. A product has one code, the code has one label, and the label scans on the first try. When any of those three breaks, you will see it instantly — at the queue, in the stock count, or on the customer’s face.
3. POS Barcode and Label Printing Explained: Barcode Types
The most common retail code is EAN-13 — thirteen digits printed as lines, found on most packaged goods worldwide — alongside its North American cousin UPC-A with twelve. Understanding these families is the first chapter of POS barcode and label printing explained, because the code type decides which scanner reads it and which rules govern the number inside.
Beyond the retail standards sit workhorses for internal use. Code 128 packs longer, flexible numbers and suits your own SKU codes, batch numbers and membership cards. And then there are 2D codes — QR among them — which hold far more data in a square: links, batch details, serial numbers. Checklists inside POS barcode and label printing explained training match the symbology to the job rather than defaulting to one shape for everything.
The practical pairing rule is simple: one-dimensional laser scanners read the lined codes, while 2D imagers read both the lines and the squares. Modern shops increasingly choose imagers for exactly that flexibility, a point the hardware side of POS barcode and label printing explained keeps returning to as QR codes spread through retail.
You do not need to memorise the technical standards — you need one decision: which codes your products carry, and which scanner reads them. Confirm those two together, before buying either labels or hardware, and the whole subject stays quiet.
4. Manufacturer Barcodes vs Your Own Codes
Most packaged goods arrive from the factory already wearing an EAN-13, and the work is simply to scan it into your system once. That manufacturer number is the backbone of POS barcode and label printing explained practice in retail: registered, unique, and readable by every scanner in the world. Your job is entry and accuracy, not invention.
Your own codes enter where the factory’s cannot. Repacked goods — rice weighed into bags, spices portioned into pouches — need a code of yours on the new package. Bundles that combine three items into one offer, service items like delivery or fitting, and variable-weight products all live on internal codes. Operators of POS barcode and label printing explained systems usually reserve one numbering range for these internal codes and never touch the manufacturer range.
Two rules keep internal codes safe. First, every code is unique forever — a number retired with a deleted product never returns, because old receipts and reports still point at it. Second, the code carries no meaning you will regret; sequential internal numbers beat clever ones that encode last year’s prices.
The one-code-one-product rule completes the picture. The moment two products share a number, every scan becomes a guess and every report a rumour. Practitioners of POS barcode and label printing explained discipline audit for duplicates before worrying about anything else, because one duplicate undoes a hundred correct labels.
5. Label Sizes, Materials and What Goes on a Label
Labels come in standard sizes, and matching size to job is half of practical POS barcode and label printing explained work. Small labels suit jewellery, cosmetics and stationery; medium labels carry the general retail load; large labels work as shelf-edge tags and for cartons. Choose two or three sizes for the whole shop rather than a different one for every mood.
Material follows the environment. Thermal direct labels are cheap and quick but fade with heat, sunlight and time, so they suit short-life items. Thermal transfer printing uses a ribbon and produces labels that survive friction, moisture and months of handling — the choice for anything long-lived. Guides on POS barcode and label printing explained hardware match the material to where the label will actually live, including fridges, freezers and oily counters.
Content stays minimal and readable. The name, the price, the code and — where useful — a date or batch line. Trainers of POS barcode and label printing explained routines insist on one luxury: whitespace around the barcode, because a crowded sticker is a slow scan waiting to happen.
Consistency beats cleverness in placement too. Same product, same spot, every time — top-left of the package, or under the existing code. Staff learn where to find it, scanners find it first time, and the queue never waits for a label hunt.
6. POS Barcode and Label Printing Explained: Printers Compared
Two printer families do nearly all label work. Thermal direct printers burn the image into heat-sensitive paper — no ribbon, fewer moving parts, cheaper labels — but the print fades, so they suit short-life labels. Thermal transfer printers melt ink from a ribbon into the label for a durable, scannable result that survives months. Reviews of POS barcode and label printing explained setups usually begin with this fork, because everything else — cost per label, ribbon stock, fade risk — flows from it.
Volume settles the choice. A shop printing a few dozen labels a week can live happily with thermal direct; a shop pricing hundreds of items, or labelling anything destined for long storage, earns its keep with thermal transfer. The hardware chapter of POS barcode and label printing explained puts the question bluntly: how long must the label survive, and how many do you print a day?
One warning saves regret: a receipt printer is not a label printer. The paper, the width and the mechanics differ, and forcing labels through a receipt printer produces curls, jams and codes that barely scan. Practitioners of POS barcode and label printing explained hardware treat the label printer as its own device with its own budget line, usually a modest one.
Connectivity is the last practical check — USB, network or Bluetooth — chosen to match where printing actually happens: the office for batch work, the counter for on-demand. Whatever you choose, print the test page before committing to a shelf position, because the printer that works is worth more than the one with impressive specifications.
7. Choosing Label Stock and Ribbon
Supplies are where label programs quietly succeed or jam, so match stock to printer with discipline. Thermal direct printers need direct stock and nothing else; thermal transfer printers need transfer stock plus a ribbon — and the ribbon must suit the label material. The supplies chapter of POS barcode and label printing explained is short for a reason: wrong pairing is the number-one cause of smeared codes and wasted rolls.
Ribbons come in three grades — wax for paper labels and general use, wax-resin for tougher surfaces, resin for the harshest conditions of chemicals and freezing. Most shops need only the first two. Teams that run POS barcode and label printing explained supplies well keep one ribbon grade per printer and one label stock per job, because variety in the drawer becomes variety in the results.
Adhesive is the third quiet decision. Permanent for most retail, removable where stickers must come off cleanly, freezer-grade for cold storage. Then test before bulk: one roll of any new stock gets a test print, a scan, a rub with a thumb and a night in the actual storage spot before you order fifty of them.
Buy to your real volume and store paper properly — away from sunlight, heat and damp, because thermal stock degrades on the shelf as well as on the product. Operators of POS barcode and label printing explained programs keep a spare roll of every stock in use, since the label run that stops mid-morning has a way of costing an afternoon.
8. POS Barcode and Label Printing Explained for Shelf Tags
Shelf-edge labels are the quiet heroes of retail scanning, and they are where POS barcode and label printing explained pays off beyond the till. A shelf tag carrying the barcode lets any scanner — including a phone — check the price instantly, settle customer queries in seconds, and make restocking a scan-and-confirm exercise instead of a squinting match by name.
Printing shelf tags straight from the POS keeps tag and price in lockstep. The tag is generated from the same product record the till reads, so a price change and its new tags are one action, not a negotiation between software and paper. Teams that run POS barcode and label printing explained shelf routines reprint affected tags the same day a price changes, because yesterday’s tag tomorrow is how pricing disputes begin.
Placement discipline completes the system. Every tag sits at the same edge position for its bay, front-facing, with the barcode unobstructed by the product’s own packaging. It sounds fussy until you watch a new staff member stock a full shelf in minutes because every tag sat exactly where it always sits.
Shelf tags also carry the audit role few owners notice. Walking the floor with a scanner and reading tags against the shelf reveals missing items, misplaced stock and price drift long before a customer finds them. It is the cheapest stock audit in retail, and it exists only where the tags are printed and current.
9. Printing Workflow: From Product to Scannable Label
A repeatable workflow turns label printing from a craft into a routine, and the sequence inside POS barcode and label printing explained practice is short. Step one: create the product with its code, name and price. Step two: choose the label size and template. Step three: print one test label. Step four: scan the test with the actual counter scanner. Step five: print the batch.
That test-before-batch habit is the single most valuable discipline in the whole subject. One bad template printed five hundred times is five hundred stickers heading for the bin, while one test print costs a few seconds. Operators of POS barcode and label printing explained systems teach staff to scan every first print of every new design — new size, new template, new printer — before the batch button is touched.
Application is the sixth step and it deserves its own mention. Labels go on the same spot of every package, flat surfaces where possible, never across seams, curves or the manufacturer’s own code. The workflow only pays off when the sticker lands where a scanner expects it.
Finally, record what works. When a template, size and placement combination scans well, write it down as the shop’s standard. Programs that mature under POS barcode and label printing explained discipline accumulate a small library of proven formats, and every new product inherits a label that already works.
10. Weighed, Variable and Batch Items
Not every product has a fixed price, and good POS barcode and label printing explained practice covers the variable ones too. Weighed goods — produce, meat, bulk foods — can use scale-integrated labels: the scale weighs, calculates the price, and prints a barcode that encodes both the product and the weight. The counter scanner reads it, and the POS prices the sale exactly as the scale intended.
Set-up is the work of one afternoon with the right scale and integration. The scale and POS agree on a code format, the products get weighed-item codes, and the label carries weight, unit price and total. Shops running POS barcode and label printing explained weighed-item workflows stop retyping weights at the till, which removes both the queue delay and the classic transposed-decimal error.
Batch and expiry labels solve a different problem: food safety and stock rotation. A label printed with the batch or date lets staff rotate stock by scan, pull expiring items before they sell, and trace a batch if a supplier recall ever arrives. Operators who extend POS barcode and label printing explained routines to batch labelling usually start with dairy, chilled goods and anything with a short shelf life.
The unifying principle is the one from the start of this guide: the barcode carries the facts, and the POS records them. Whether the variable is weight, batch or date, the label moves the truth from the scale or the supplier into the system — where it can defend you later.
11. Scanners, Scanning and Label Quality
Scanners come in two useful families. One-dimensional laser scanners read the lined retail codes quickly and cheaply, while 2D imagers read everything — lined codes, QR squares, and codes displayed on a phone screen, which matters as tickets and loyalty cards go digital. The scanner chapter of POS barcode and label printing explained advice is straightforward: buy the imager once and stop thinking about symbology forever.
Then match the form to the counter. Handheld scanners suit flexible scanning of heavy or awkward items; presentation scanners sit in a stand and read whatever waves past; mobile devices with camera scanning cover the floor and the stockroom. Reviews of POS barcode and label printing explained setups match scanner form to the actual items sold, not to the catalog’s biggest picture.
When a label refuses to scan, the cause is almost always printable. Low contrast, a torn or creased surface, glare from shiny packaging, a barcode too small for the scanner’s reading distance, or print that has faded past recognition. Every one of these is fixed at print time — which is why the test-scan habit from the workflow section exists.
Make label quality a shared standard. A quick scan test at receiving, a glance at faded tags during shelf work, and a reprint culture where damaged labels are replaced on sight. Programs that keep POS barcode and label printing explained quality standards high never train customers to type codes at the counter — because nothing at their counter ever fails to beep.
12. Stock Accuracy and the Barcode Habit
Barcodes earn their second salary in the stockroom, where they turn inventory work from estimation into arithmetic. Receiving is the first win: scan each delivery line as it lands, compare against the supplier’s invoice, and disputes become facts instead of phone calls. The receiving habit inside POS barcode and label printing explained practice takes minutes and catches shortages while the delivery driver is still at the door.
Counts come next. Cycle counting by scan — one bay, one category, one evening a week — replaces the annual full-stock drama with a rolling rhythm that never closes the shop. Teams that run POS barcode and label printing explained counting routines count faster and argue less, because the scanner and the system do the remembering.
Shrinkage gets a face at last. When every sale, receipt and adjustment flows through scans, the variance between expected and counted stock points at specific products, dates and shifts. That visibility is what reviewers of POS barcode and label printing explained programs call the quiet dividend: the labels were printed for speed, but they end up paying for truth.
The habit that holds it all together is small: if it moves, it scans. Goods in, goods out, goods counted — each event earns a beep. A shop that keeps that single rule finds its stock report matching its shelves, week after week, without heroics at month end.
13. POS Barcode and Label Printing Explained: Costs and Care
Label printing has three cost lines — printer, labels and ribbon — and honest POS barcode and label printing explained budgeting counts them per label, not per box. Divide the roll price by the labels it holds, add the ribbon share for transfer printing, and you have the true unit cost that decides between direct and transfer for your volumes.
Cheap supplies are rarely cheap. Off-spec label stock jams, misfeeds and scans badly, and a jam at a busy counter costs more than the shillings saved on the roll ever returned. Operators of POS barcode and label printing explained programs buy quality stock, store it away from heat and sunlight, and keep one spare roll of everything in use.
The printer itself needs minutes of care to run for years. A clean print head — wiped gently with the recommended solution every few weeks — prevents the faded, patchy codes that scanners squint at. Maintenance notes inside POS barcode and label printing explained routines also cover the small things: correct paper tension, clean rollers, and dust kept out of the mechanism.
Put the care on a calendar and it never becomes a crisis. A monthly five-minute check — test print, scan, head wipe, spare-roll count — is the entire maintenance plan most shops need. The printer that gets those five minutes is the one that never leaves the counter queuing on a Saturday.
14. Common Barcode and Label Mistakes to Avoid
The failures in this subject repeat across shops with remarkable consistency, and every one is preventable before the first batch prints. The gravest is reusing a code for a different product, which poisons old receipts, reports and reorder history in one silent stroke. Audits of POS barcode and label printing explained practices rank duplicate and recycled codes as the single most expensive label mistake.
The second family is process shortcuts: printing a batch without a test scan, covering the manufacturer’s barcode with your own label placed carelessly, and sticking labels across curves, seams or opening edges where they tear or wrinkle. Each one survives quality control until the exact moment a customer is waiting. Programs that follow POS barcode and label printing explained discipline make the test scan and the placement rule non-negotiable.
The third family is environmental. Thermal direct labels fading on a sunny shelf, freezer stock losing adhesive in the chiller, and labels on oily or damp surfaces peeling into illegibility — each a material choice made once and regretted for months. Reviews of POS barcode and label printing explained setups match the stock to the shelf, not to the catalogue.
The last mistake is structural: no spare rolls, no recorded template standards, and no owner of the label system when something changes. Every silent gap becomes a counter improvisation within a week. Assign the system a name, keep the spares, write the standards down — then the mistakes stay in articles like this one.
15. Barcodes for Markets, Online and Omnichannel
The moment your products leave your own counter, barcode rules change. Marketplaces, wholesale buyers and large retailers typically require GS1-issued codes — the globally licensed numbers behind the EAN system — rather than internal ones. Sellers meeting POS barcode and label printing explained requirements for online channels usually obtain a GS1 company prefix once, then generate legitimate codes for every product they list.
In-store and online should agree. When the same product carries the same code on the shelf and in the listing, inventory syncs honestly between the two worlds, and omnichannel promises become arithmetic instead of hope. Programs that align POS barcode and label printing explained practice across channels treat one product, one code, everywhere as the governing rule.
Internal codes still rule inside your walls, and that is fine. Your repacked goods, bundles and weighed items can carry your own numbers on your own labels, with the GS1 layer added where trade demands it. Operators running POS barcode and label printing explained hybrid setups keep the two ranges clearly separated so reports always know which world a code belongs to.
Before listing anywhere, check the channel’s exact requirements — formats, prefix validity, label placement on cartons — because each marketplace writes its own fine print. An afternoon spent reading those rules prevents the classic rejection: products photographed beautifully, listings written perfectly, and barcodes the platform will not accept.
16. POS Barcode and Label Printing Explained: The 2026 Rules
The biggest 2026 shift in POS barcode and label printing explained is the move toward two-dimensional codes at mainstream retail. Industry bodies have been driving a global transition where the familiar lined barcode gains a QR-style sibling carrying far more data — product links, batch details, expiry dates — and retailers worldwide are upgrading scanners to read both shapes from the same label.
The practical consequence is a hardware one: scanners bought from 2026 onward should be 2D imagers by default, because the code on a new product may be a square. Shops following POS barcode and label printing explained upgrade advice are phasing imagers into their counters as devices retire, so the transition costs nothing extra when it arrives.
Label design gains a rule too. As codes carry more data, labels need space — for the square code, for the human-readable fields beneath it, and for the eventual coexistence of both code styles on one sticker. Designers working on POS barcode and label printing explained templates are already leaving that room, and new shops should start with generous whitespace rather than retrofit it.
Digital shelf labels, mobile self-scanning and smarter scale integration round out the picture, but none of them change the fundamentals in this guide. One code per product, test before batch, labels that survive their shelf — the 2026 tooling simply makes each habit smarter and the data richer. Shops with clean fundamentals will experience the transition as an upgrade, not a rebuild.
17. Your First 30 Days Action Plan
You can barcode your shop properly in thirty days without closing a single day. Week one is the audit: pull a sample of products and record which carry manufacturer codes, which need your own, and which have nothing. Match the findings against the POS barcode and label printing explained checklist in this guide, then choose your printer type, label sizes and scanner capabilities in one sitting.
Week two is configuration and testing. Build one label template, print one label, and scan it with the actual counter scanner under actual lighting. Treat the POS barcode and label printing explained template as a draft until it survives the test scan, the thumb rub and a night on the real shelf.
Week three is the roll-out. Batch-print labels for your top-selling products, apply them at the standard spot, and start the receiving habit — scan every delivery line against the invoice. The POS barcode and label printing explained routine only becomes real when it survives a busy delivery morning.
Week four is the finishing layer. Print shelf tags for the main aisles, run your first scan-based cycle count on one category, and put printer care plus the spare-roll check on a monthly calendar. By day thirty the shop should feel different at the counter — faster, quieter and certain — because every product now announces itself with one clean beep.
Frequently Asked Questions
1. What is the first rule in POS barcode and label printing explained for 2026? One product, one code, one label that scans on the first try — and a test scan before any batch prints. The rule sounds obvious until a duplicated code or an untested template quietly corrupts a week of sales data. Everything else in this subject is detail around that single habit.
2. Do I need GS1 barcodes or can I make my own? Inside your own shop, your own codes are fine for repacked goods, bundles and internal items. The moment you sell through marketplaces, wholesalers or larger retailers, GS1-issued codes are usually required, so obtain a company prefix when trade demands it. Many shops run both — GS1 for listed products, internal codes for everything else.
3. Can I print barcode labels with a normal printer? In an emergency, yes — a laser or inkjet sheet of labels can work for a small batch, provided the print is dark and the code scans. For anything regular, a dedicated thermal label printer is cleaner, faster and cheaper per label, and it does not tie up the office printer. Treat the emergency method as a bridge, not a plan.
4. Why does my barcode not scan? Nine times out of ten the label is the problem, not the scanner: low contrast, fading, glare, damage, or a code too small for the reading distance. Test-print and scan every new template, keep whitespace around the code, and replace faded labels on sight. If a fresh, well-printed label still fails, then look at the scanner.
5. What label size do I need? Match the size to the job: small for jewellery and cosmetics, medium for general retail, large for shelf-edge tags and cartons. Two or three sizes cover almost every shop, and fewer sizes mean fewer templates and fewer mistakes. Choose after holding the actual products, not from a catalogue.
6. How do I handle products without barcodes, like produce? Weighed goods are solved with scale-integrated labels that encode the product and weight into a scannable code, so the till prices the sale without retyping. Fixed-price loose goods get your own internal code label on the bag or tray. Either way, the principle holds — the item carries a code, and the code carries the truth.
7. Should shelf tags have barcodes on them? Yes, whenever your printer makes it easy. A shelf tag with a barcode enables instant price checks, faster restocking, floor audits by scan and fewer disputes at the counter. Print tags directly from the POS so tag and price never disagree, and reprint the same day any price changes.
Here is your immediate move: tonight, pull twenty products from your shelves and sort them into three piles — manufacturer-coded, needing your own code, and unlabelled. Compare the piles against the POS barcode and label printing explained checklist in section four, and you will know exactly how much labelling work your shop actually needs.
Tomorrow, build one label template and run the full test: print, scan at the real counter, rub with a thumb, leave it on the shelf overnight. The POS barcode and label printing explained test takes ten minutes and prevents every batch disaster this subject is known for.
Label your top sellers this week and start the receiving habit — scan every delivery line against the invoice while the driver waits. A shop that trains its POS barcode and label printing explained routines properly feels the difference at the counter within days, and in the stockroom within weeks.
Finish the month with the finishing layer: shelf tags on the main aisles, one scan-based cycle count, and the printer-care calendar. Fifteen minutes a month with POS barcode and label printing explained maintenance keeps the whole system beeping for years instead of months.
Finally, review the setup quarterly — templates, stock, fading labels, spare rolls, and one look at the 2026 code transition. That rhythm, plus the POS barcode and label printing explained discipline built above, is how ordinary counters turn tiny stickers into speed, accuracy and honest stock through 2026.